| Tenouk C & C++ | MFC Home | Automation 8 | Automation 10 | Download | Site Index |
Automation 9
Program examples compiled using Visual C++ 6.0 compiler on Windows XP Pro machine with Service Pack 2. The Excel version is Excel 2003/Office 11. Topics and sub topics for this tutorial are listed below. Don’t forget to read Tenouk’s small disclaimer. The supplementary notes for this tutorial are automation, variant and COlevariant class.
-
The MYMFC29D Automation Client Example
-
The steps for MYMFC29D from scratch
|
The MYMFC29D Automation Client Project Example
So far, you've seen C++ Automation component programs. Now you'll see a C++ Automation client program that runs all the previous components and also controls Microsoft Excel. The MYMFC29D program was originally generated by AppWizard, but without any COM options. It was easier to add the COM code than it would have been to rip out the component-specific code. If you do use AppWizard to build such an Automation controller, add the following line at the end of StdAfx.h:
Then add this call at the beginning of the application's InitInstance() function:
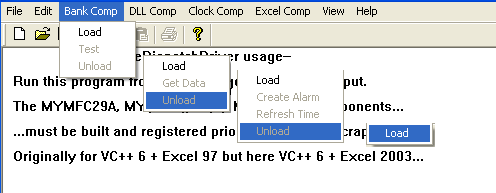
To prepare MYMFC29D, open the mymfc29D project and do the build. Run the application from the debugger, and you'll see a standard SDI application with a menu structure similar to that shown in Figure 1. If you have built and registered all the previous components (previous program examples), you can test them from MYMFC29D. Notice that the DLL doesn't have to be copied to the \Winnt\System32 (Windows system) directory because Windows finds it through the Registry. For some components, you'll have to watch the Debug window to verify that the test results are correct. The program is reasonably modular. Menu commands and update command UI events are mapped to the view class. Each component object has its own C++ controller class and an embedded data member in mymfc29DView.h. We'll look at each part separately after we delve into the steps to build MYMFC29D from scratch and type libraries.
Figure 1: A sample menu structure for a standard SDI application.
|
|
The steps for MYMFC29D from scratch
This is SDI application without Automation support at the beginning.
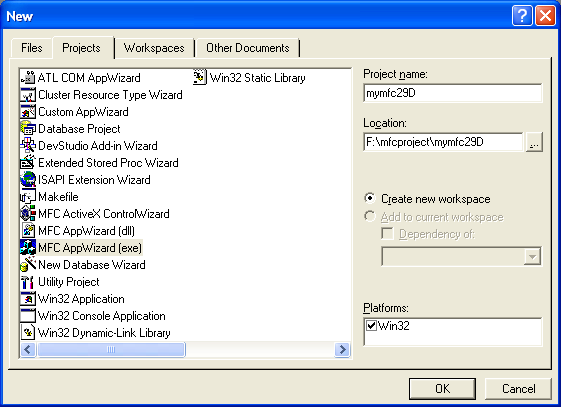
Figure 2: MYMFC29D new Visual C++ project dialog.
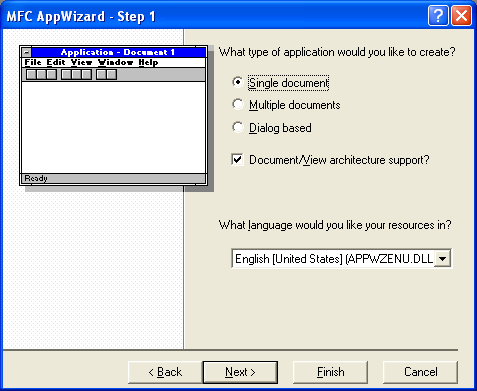
Figure 3: MYMFC29D – AppWizard step 1 of 6, selecting SDI application.

Figure 4: MYMFC29D – AppWizard step 2 of 6.
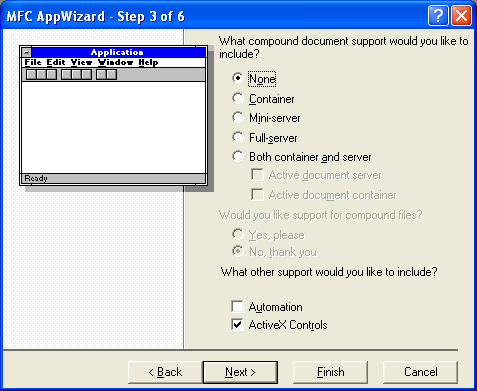
Figure 5: MYMFC29D – AppWizard step 3 of 6, Automation option not selected.
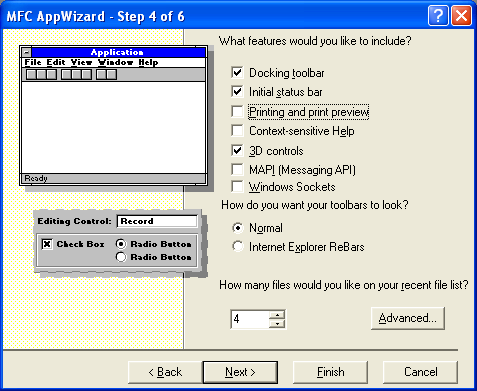
Figure 6: MYMFC29D – AppWizard step 4 of 6, de-select the printing services.
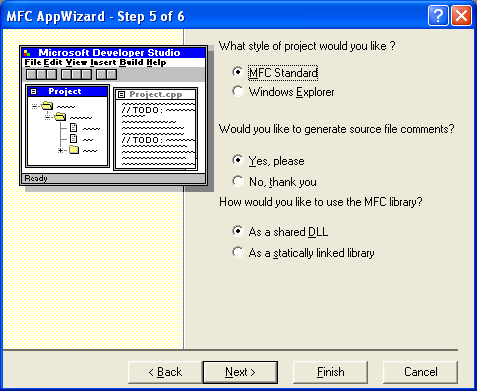
Figure 7: MYMFC29D – AppWizard step 5 of 6.
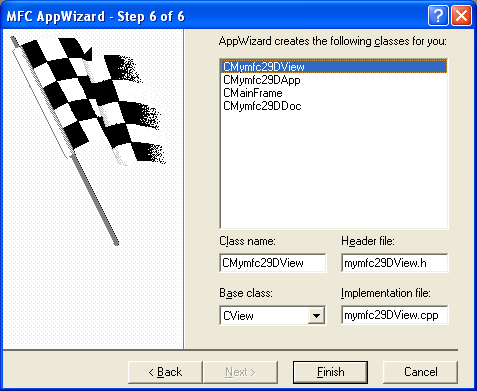
Figure 8: MYMFC29D – AppWizard step 6 of 6.
----------------------------------------------------------------------------------
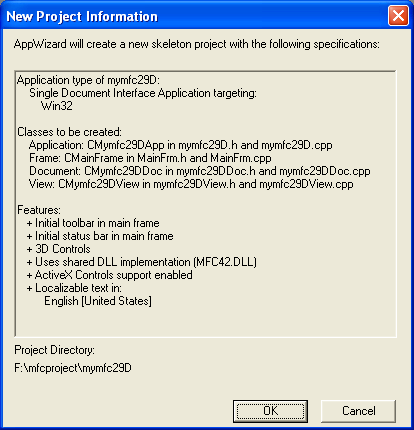
Figure 9: MYMFC29D project summary.
Add menus and their items for Bank Comp. Use ResourceView to add new menus and their respective items.
|
ID |
Menu |
Prompt |
|
- |
Bank Comp |
- |
|
ID_BANKOLE_LOAD |
Load |
Load the bank component, MYMFC29A.EXE |
|
ID_BANKOLE_TEST |
Test |
Test the bank component |
|
ID_BANKOLE_UNLOAD |
Unload |
Unload the bank component |
|
Table 1. |
||
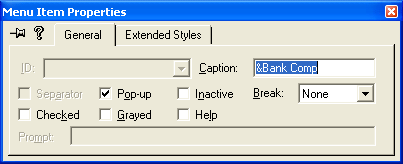
Figure 10: Adding Bank Comp menu.

Figure 11: Adding Load menu item.
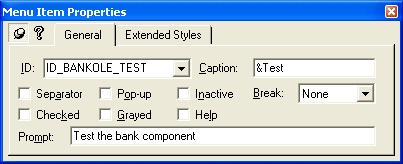
Figure 12: Adding Test menu item.
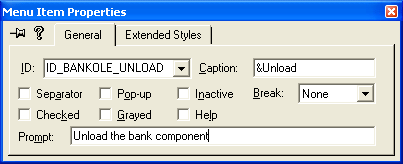
Figure 13: Adding Unload menu item.
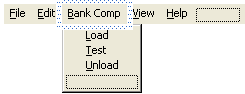
Figure 14: A completed Bank Comp menus.
Add menu items for DLL Comp.
|
ID |
Menu |
Prompt |
|
- |
DLL Comp |
- |
|
ID_DLLOLE_LOAD |
Load |
Load the DLL component (MYMFC29B.DLL) |
|
ID_DLLOLE_GETDATA |
Get Data |
Get data from the DLL component |
|
ID_DLLOLE_UNLOAD |
Unload |
Unload the DLL component |
|
Table 2. |
||
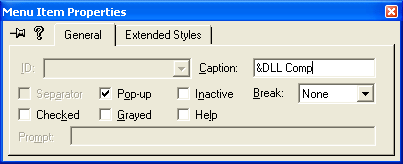
Figure 15: Adding DLL Comp menu.
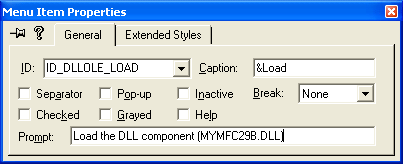
Figure 16: Adding Load menu item.
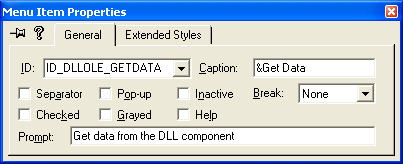
Figure 17: Adding Get Data menu item.
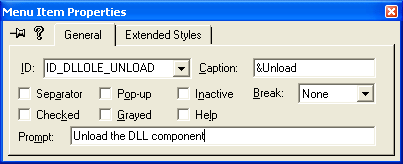
Figure 18: Adding Unload menu item.
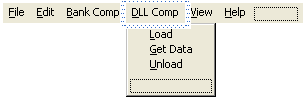
Figure 19: A completed DLL Comp menus.
Add menu items for Clock Comp.
|
ID |
Menu |
Prompt |
|
- |
Clock Comp |
- |
|
ID_CLOCKOLE_LOAD |
Load |
Load the clock component, MYMFC29C.EXE |
|
ID_CLOCKOLE_CREATEALARM |
Create Alarm |
Create an alarm |
|
ID_CLOCKOLE_REFRESHTIME |
Refresh Time |
Refresh the time from the system clock |
|
ID_CLOCKOLE_UNLOAD |
Unload |
Unload the clock component |
|
Table 3. |
||

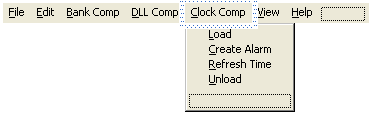
Figure 20: Adding Clock Comp menu.

Figure 21: Adding Load menu item.
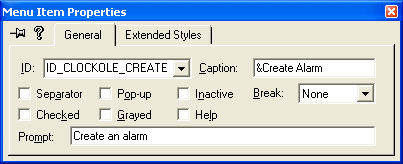
Figure 22: Adding CreateAlarm menu item.
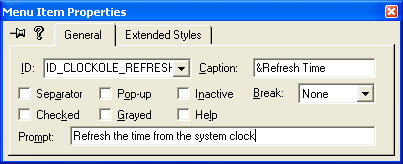
Figure 23: Adding Refresh Time menu item.
|
Figure 24: Adding Unload menu item.
Figure 25: A completed Clock Comp menus. |

Add menu and the item for Excel Comp.
|
ID |
Menu |
Prompt |
|
- |
Excel Comp |
- |
|
ID_EXCELOLE_LOAD |
Load |
Load Excel or connect to a running process |
|
Table 4. |
||
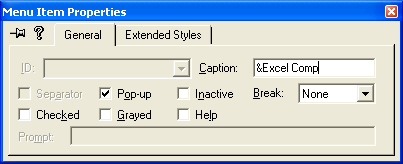
Figure 26: Adding Excel Comp menu.
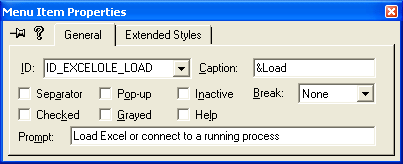
Figure 27: Adding Load menu item.

Figure 28: A completed Excel Comp menus.
Add a new dialog for the alarm setting. Use ResourceView to add new dialog, use the following information for the dialog and Edit controls. Leave the static texts IDs to the default.
|
ID |
Item |
|
IDD_ALARMDLG |
Dialog with Alarm Dialog caption |
|
IDC_HOURS |
Hours edit box. |
|
IDC_MINUTES |
Minutes edit box. |
|
IDC_SECONDS |
Seconds edit box. |
|
Table 6. |
|

Figure 29: Adding dialog for alarm setting.
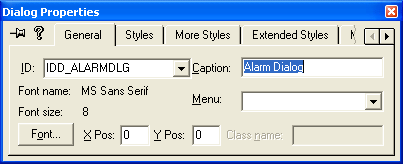
Figure 30: Setting the dialog property.
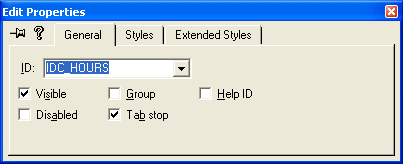
Figure 31: Setting the Hours Edit control property.

Figure 32: Setting the Minutes Edit control property.
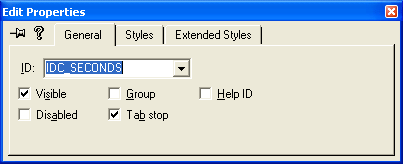
Figure 33: Setting the Seconds Edit control property.
Launch ClassWizard. Click the OK button to create a new class.

Figure 34: Adding new class, CAlarmDialog for the previously created dialog.
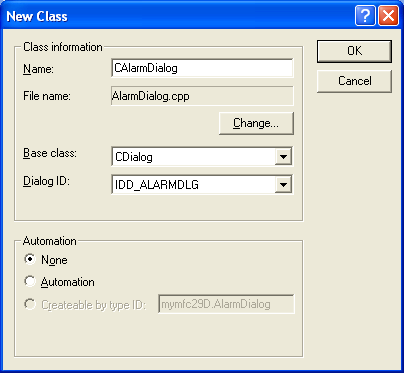
Figure 35: Entering CAlarmDialog class information, without Automation support.
Add member variables and initialize them. Add the following member variables using Member Variables page of ClassWizard.
|
ID |
Type |
Member name |
Min/Max value |
|
IDC_HOURS |
int |
m_nHours |
0/23 |
|
IDC_MINUTES |
int |
m_nMinutes |
0/59 |
|
IDC_SECONDS |
int |
m_nSeconds |
0/59 |
|
Table 7. |
|||

Figure 36: Adding member variables to the controls in CAlarmDialog class.
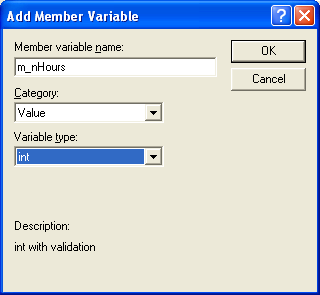
Figure 37: Adding m_nHours member variable to IDC_HOURS Edit control.

Figure 38: Adding m_nMinutes member variable to IDC_MINUTES Edit control. Repeat the same step for IDC_SECONDS.
Using ClassWizard to generate a driver class from the component project's TLB file. Open the ClassWizard and click the Add Class button and select the From a type library option. Here, we extract and add to project, an already created class from TLB (type library) file of the MYMFC29A project. It is class re-usability.

Figure 39: Adding class from TLB file.
Find your mymfc29A.tlb file in the Debug directory of the MYMFC29A project directory. Select the file and click the Open button.
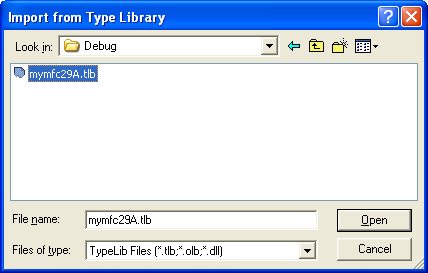
Figure 40: Browsing and selecting MYMFC29A’s TLB file.
Change the header and implementation files to BankDriver.h and BankDriver.cpp respectively and click the OK button.
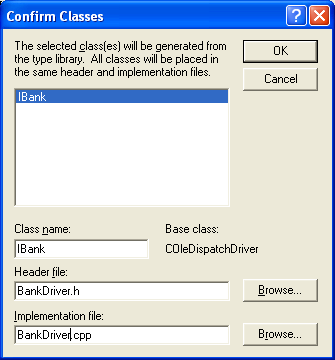
Figure 41: Adding IBank component from MYMFC29A project. At the same time,
changing the class header and source file names.
Select the IBank component, the added files and class can be seen through the ClassView and FileView respectively. Repeat the same steps for TLB files of the MYMFC29B and MYMFC29C projects.
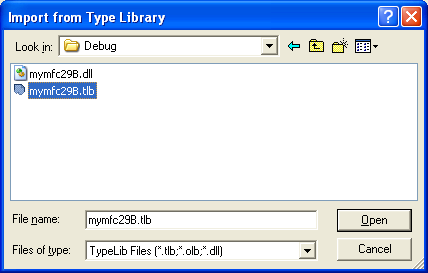
Figure 42: Selecting MYMFC29B’s TLB file.

Figure 43: Adding IMymfc29BAuto component to MYMFC29D project.

Figure 44: Selecting MYMFC29C’s TLB file.
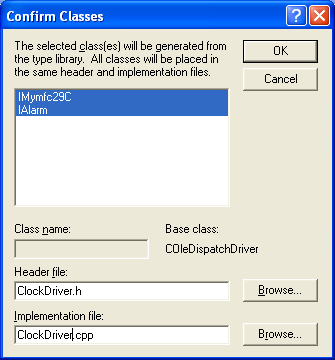
Figure 45: Adding IMymfc29C and IAlarm components to MYMFC29D project.
Further reading and digging:
-
MSDN What's New (MFC Feature Pack) - feature pack.
-
DCOM at MSDN.
-
COM+ at MSDN.
-
COM at MSDN.
-
Unicode and Multi-byte character set: Story and program examples.