| Tenouk C & C++ | MFC Home | IIS Programming 1 | IIS & ISAPI Programming 3 | Download | Site Index |
Programming the Microsoft Internet Information Server
ISAPI Extension Part 2
Program examples compiled using Visual C++ 6.0 compiler on Windows XP Pro machine with Service Pack 2 and some Figure screen snapshots have been taken on Windows 2000 server. The Internet Information Services version is IIS 4.x/5.x/6.x on Windows 2000 Server SP 4 and Windows XP Pro SP 2. The Internet Explorer is 6.x. Topics and sub topics for this tutorial are listed below. A complete information about IIS installation, configuration and testing a Web site is dumped HERE and how to setup FTP server also included HERE. Both Web and FTP servers were done on Windows 2000 Server SP4. Don’t forget to read Tenouk’s small disclaimer.
-
ISAPI Server Extensions
-
Common Gateway Interface and ISAPI
-
A Simple ISAPI Server Extension GET Request
-
HTML Forms: GET vs. POST
-
Writing an ISAPI Server Extension DLL
-
The Simplest Idea
|
|
ISAPI Server Extensions
An ISAPI server extension is a program (implemented as a DLL loaded by IIS) that runs in response to a GET or POST request from a client program (browser). The browser can pass parameters to the program, which are often values that the browser user types into edit controls, selects from list boxes, and so forth. The ISAPI server extension typically sends back HTML code based on those parameter values. You'll better understand this process when you see an example. Take note that nowadays better scripting languages with more functionalities and security features, such as Active Server Pages (ASP), PHP, Java Server Page (JSP) etc. were used to replace and complement ISAPI server extension. What we are concern in this tutorial is more on how the whole system works.
Common Gateway Interface and ISAPI
Internet server programs were first developed for UNIX computers, so the standards were in place long before Microsoft introduced IIS. The Common Gateway Interface (CGI) standard, actually part of HTTP, evolved as a way for browser programs to interact with scripts or separate executable programs running on the server. Without altering the HTTP/CGI specifications, Microsoft designed IIS to allow any browser to load and run a server DLL. DLLs are part of the IIS process and thus are faster than scripts that might need to load separate executable programs. Because of your experience, you'll probably find it easier to write an ISAPI DLL in C++ than to write a script in PERL, the standard Web scripting language for servers. CGI shifts the programming burden to the server. Using CGI parameters, the browser sends small amounts of information to the server computer, and the server can do absolutely anything with this information, including access a database, generate images, and control peripheral devices. The server sends a file (HTML or otherwise) back to the browser. The file can be read from the server's disk, or it can be generated by the program. No ActiveX controls or Java applets are necessary, and the browser can be running on any type of computer.
A Simple ISAPI Server Extension GET Request
Suppose an HTML file contains the following tag (there is already C:\Inetpub\Scripts subdirectory when you install IIS and we will use this subdirectory to put all the DLL file of the program examples): |
<a href="scripts/mymaps.dll?State=Idaho">Idaho Weather Map</a><p>
When the user clicks on Idaho Weather Map, the browser sends the server a CGI GET request like this:
GET scripts/mymaps.dll?State=Idaho HTTP/1.0
IIS then loads mymaps.dll from its scripts (virtual) directory, calls a default function (often named Default()), and passes it the State parameter Idaho. The DLL then goes to work generating a JPG file containing the up-to-the-minute satellite weather map for Idaho and sends it to the client. If mymaps.dll had more than one function, the tag could specify the function name like this:
<a href="scripts/mymaps.dll?GetMap?State=Idaho&Res=5">Idaho Weather Map</a><p>
In this case, the function GetMap() is called with two parameters, State and Res. You'll soon learn how to write an ISAPI server similar to mymaps.dll, but first you'll need to understand HTML forms, because you don't often see CGI GET requests by themselves.
HTML Forms: GET vs. POST
In the HTML code for the simple CGI GET request above, the state name was hard-coded in the tag. Why not let the user selects the state from a drop-down list? For that, you need a form, and here's a simple one that can do the job. This file named weathermap.html
|
<!DOCTYPE HTML PUBLIC "-//W3C//DTD HTML 4.0 Transitional//EN"> <HTML>
<HEAD> <TITLE>Weathermap HTML Form</TITLE> </HEAD>
<BODY>
<H1></H1> <CENTER><B><FONT color="#FF0000" face="Verdana">Welcome to the Satellite Weathermap Service</FONT></B></CENTER> <H1></H1> <FORM action="scripts/mymaps.dll?GetMap" method="POST"> <P>Select your state: <SELECT name="State"> <OPTION>Alabama</OPTION> <OPTION>Alaska</OPTION> <OPTION>Idaho</OPTION> <OPTION>Washington</OPTION> </SELECT> </P> <P><INPUT type="submit"><INPUT type="reset"> </P> </FORM>
</BODY> </HTML> |
Listing 1.
If you looked at this HTML file with a browser, you would see the form shown in Figure 13.

Figure 13: The Weathermap HTML form window.
The select tag provides the state name from a list of four states, and the all-important "submit" input tag displays the pushbutton that sends the form data to the server in the form of a CGI GET request that looks like this:
GET scripts/mymaps.dll?GetMap?State=Idaho HTTP/1.0
(various request headers)
(blank line)
Unfortunately, some early versions of the Netscape browser omit the function name in form-originated GET requests, giving you two choices: provide only a default function in your ISAPI DLL, and use the POST method inside a form instead of the GET method. If you want to use the POST option, change one HTML line in the form above to the following:
<form action="scripts/mymaps.dll?GetMap" method=POST>
Now here's what the browser sends to the server:
POST scripts/mymaps.dll?GetMap
(various request headers)
(blank line)
State=Idaho
Note that the parameter value is in the last line instead of in the request line. ISAPI DLLs are usually stored in a separate virtual directory on the server because these DLLs must have execute permission but do not need read permission. You can double-click on a directory to change its properties.
Writing an ISAPI Server Extension DLL
Visual C++ gives you a quick start for writing ISAPI server extensions. Just select ISAPI Extension Wizard from the Projects list. After you click the OK button, your first screen looks like Figure 15.

Figure 14: ISAPI extension new project dialog.

Figure 15: The Step 1 of 1 page of the ISAPI Extension Wizard.
Check the Generate A Server Extension Object box, and you've got a do-nothing DLL project with a class derived from the MFC CHttpServer class and a Default() member function. Now it's time for a little programming. You must write your ISAPI functions as members of the derived CHttpServer class, and you must write parse map macros to link them to IIS. There's no "parse map wizard," so you have to do some coding. It's okay to use the Default() function, but you need a GetMap() function too. First insert these lines into the wizard-generated parse map:
ON_PARSE_COMMAND(GetMap, CWeatherExtension, ITS_PSTR)
ON_PARSE_COMMAND_PARAMS("State")
Then write the GetMap() function:
void CWeatherExtension::GetMap(CHttpServerContext* pCtxt, LPCTSTR pstrState)
{
StartContent(pCtxt);
WriteTitle(pCtxt);
*pCtxt << "Visualize a weather map for the state of ";
*pCtxt << pstrState;
EndContent(pCtxt);
}
This function doesn't actually generate the weather map (what did you expect?), but it does display the selected state name in a custom HTML file. The CHttpServer::StartContent and CHttpServer::EndContent functions write the HTML boilerplate, and CHttpServer::WriteTitle calls the virtual CHttpServer::GetTitle function, which you need to override:
LPCTSTR CWeatherExtension::GetTitle() const
{
return "Your custom weather map"; // for browser's title window
}
The MFC CHttpServerContext class has an overloaded << operator, which you use to put text in the HTML file you're building. Behind the scenes, an attached object of the MFC class CHtmlStream represents the output to the server's socket.
The Simplest Idea
The following are the steps for the previous story. Here, we just to get some idea because mymaps.dll does nothing useful. Just follow the shown steps.

Figure 16: MYMAPS – ISAPI extension new project dialog.

Figure 17: MYMAPS - Step 1 of 1 ISAPI Extension Wizard.
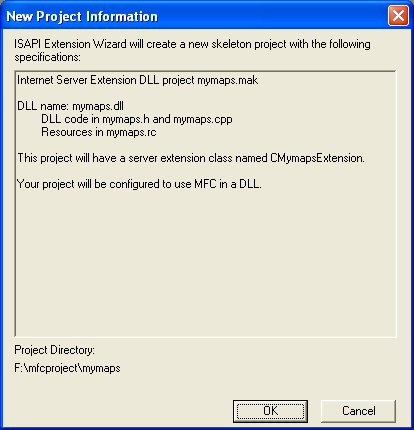
Figure 18: MYMAPS project summary.
Using ClassWizard, insert GetTitle() message handler.
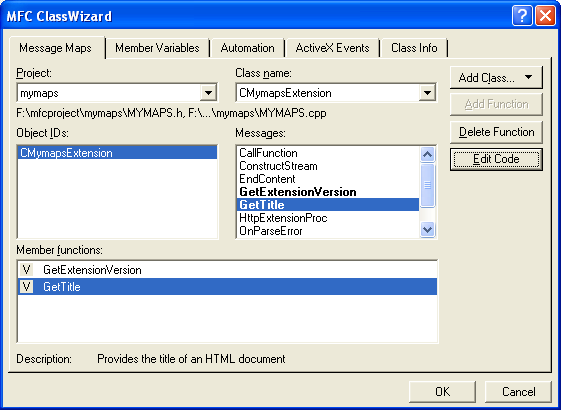
Figure 19: Adding GetTitle() virtual function using ClassWizard.
Edit the mymaps.h as shown below. The added/edited code shown in orange color.
|
#if !defined(AFX_MYMAPS_H__8290CF7E_3213_40CD_B52D_255EADB11E02__INCLUDED_) #define AFX_MYMAPS_H__8290CF7E_3213_40CD_B52D_255EADB11E02__INCLUDED_
// MYMAPS.H - Header file for your Internet Server // mymaps Extension
#include "resource.h"
class CMymapsExtension : public CHttpServer { public: CMymapsExtension(); ~CMymapsExtension();
// Overrides // ClassWizard generated virtual function overrides // NOTE - the ClassWizard will add and remove member functions here. // DO NOT EDIT what you see in these blocks of generated code! //{{AFX_VIRTUAL(CMymapsExtension) public: virtual BOOL GetExtensionVersion(HSE_VERSION_INFO* pVer); virtual LPCTSTR GetTitle() const; //}}AFX_VIRTUAL // virtual BOOL TerminateExtension(DWORD dwFlags);
// TODO: Add handlers for your commands here. // For example:
void Default(CHttpServerContext* pCtxt); void GetMap(CHttpServerContext* pCtxt, LPCTSTR pstrState);
DECLARE_PARSE_MAP()
//{{AFX_MSG(CMymapsExtension) //}}AFX_MSG };
//{{AFX_INSERT_LOCATION}} // Microsoft Visual C++ will insert additional declarations immediately before the previous line.
#endif // !defined(AFX_MYMAPS_H__8290CF7E_3213_40CD_B52D_255EADB11E02__INCLUDED)
|
Listing 2.
And mymaps.cpp as shown below.
|
// MYMAPS.CPP - Implementation file for your Internet Server // mymaps Extension
#include "stdafx.h" #include "mymaps.h"
/////////////////////////////////////////////////////////////////////// // The one and only CWinApp object // NOTE: You may remove this object if you alter your project to no // longer use MFC in a DLL.
CWinApp theApp;
/////////////////////////////////////////////////////////////////////// // command-parsing map
BEGIN_PARSE_MAP(CMymapsExtension, CHttpServer) // TODO: insert your ON_PARSE_COMMAND() and // ON_PARSE_COMMAND_PARAMS() here to hook up your commands. // For example: ON_PARSE_COMMAND(GetMap, CMymapsExtension, ITS_PSTR) ON_PARSE_COMMAND_PARAMS("State") ON_PARSE_COMMAND(Default, CMymapsExtension, ITS_EMPTY) DEFAULT_PARSE_COMMAND(Default, CMymapsExtension) END_PARSE_MAP(CMymapsExtension)
/////////////////////////////////////////////////////////////////////// // The one and only CMymapsExtension object
CMymapsExtension theExtension;
/////////////////////////////////////////////////////////////////////// // CMymapsExtension implementation
CMymapsExtension::CMymapsExtension() { }
CMymapsExtension::~CMymapsExtension() { }
BOOL CMymapsExtension::GetExtensionVersion(HSE_VERSION_INFO* pVer) { // Call default implementation for initialization CHttpServer::GetExtensionVersion(pVer);
// Load description string TCHAR sz[HSE_MAX_EXT_DLL_NAME_LEN+1]; ISAPIVERIFY(::LoadString(AfxGetResourceHandle(), IDS_SERVER, sz, HSE_MAX_EXT_DLL_NAME_LEN)); _tcscpy(pVer->lpszExtensionDesc, sz); return TRUE; }
// BOOL CMymapsExtension::TerminateExtension(DWORD dwFlags) // { // // extension is being terminated // //TODO: Clean up any per-instance resources // return TRUE; // }
/////////////////////////////////////////////////////////////////////// // CMymapsExtension command handlers
void CMymapsExtension::Default(CHttpServerContext* pCtxt) { StartContent(pCtxt); WriteTitle(pCtxt);
*pCtxt << _T("This default message was produced by the Internet"); *pCtxt << _T(" Server DLL Wizard. Edit your CMymapsExtension::Default()"); *pCtxt << _T(" implementation to change it.\r\n");
EndContent(pCtxt); }
void CMymapsExtension::GetMap(CHttpServerContext* pCtxt, LPCTSTR pstrState) { StartContent(pCtxt); WriteTitle(pCtxt); *pCtxt << "Visualize a weather map for the state of "; *pCtxt << pstrState; EndContent(pCtxt); }
// Do not edit the following lines, which are needed by ClassWizard. #if 0 BEGIN_MESSAGE_MAP(CMymapsExtension, CHttpServer) //{{AFX_MSG_MAP(CMymapsExtension) //}}AFX_MSG_MAP END_MESSAGE_MAP() #endif // 0
/////////////////////////////////////////////////////////////////////// // If your extension will not use MFC, you'll need this code to make // sure the extension objects can find the resource handle for the // module. If you convert your extension to not be dependent on MFC, // remove the comments around the following AfxGetResourceHandle() // and DllMain() functions, as well as the g_hInstance global.
/****
static HINSTANCE g_hInstance;
HINSTANCE AFXISAPI AfxGetResourceHandle() { return g_hInstance; }
BOOL WINAPI DllMain(HINSTANCE hInst, ULONG ulReason, LPVOID lpReserved) { if (ulReason == DLL_PROCESS_ATTACH) { g_hInstance = hInst; } return TRUE; }
****/
LPCTSTR CMymapsExtension::GetTitle() const { // TODO: Add your specialized code here and/or call the base class return "Your custom weather map"; // for browser's title window }
|
Listing 3.
Build the program, generating mymaps.dll file under the project’s Debug directory. Copy mymaps.dll to c:\Inetpub\scripts sub directory.
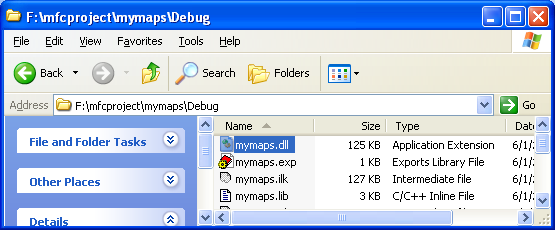
Figure 20: The generated DLL under the Debug directory.
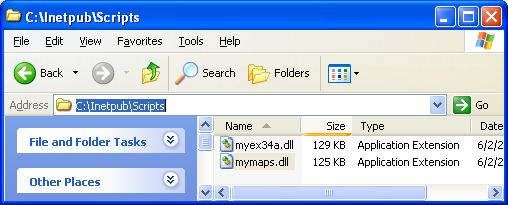
Figure 21: Copying the DLL to scripts directory of the default web site directory.
Verify the scripts sub directory through IIS.
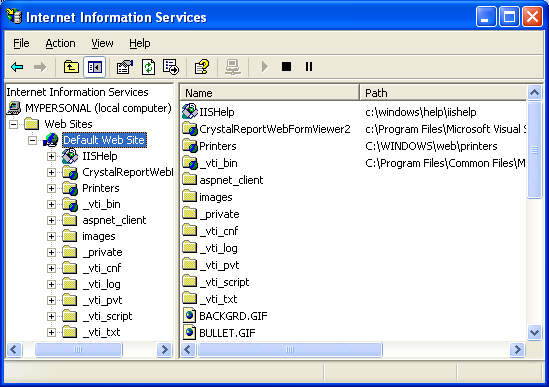
Figure 22: The scripts sub directory nowhere to be seen.
If the scripts sub directory cannot be seen, we need to create a virtual directory to map to the physical script subdirectory. Select the Web Site directory and right click. Select New Virtual Directory context menu.

Figure 23: Invoking the Virtual Directory context menu.
Follow the Virtual Directory Creation Wizard instructions.
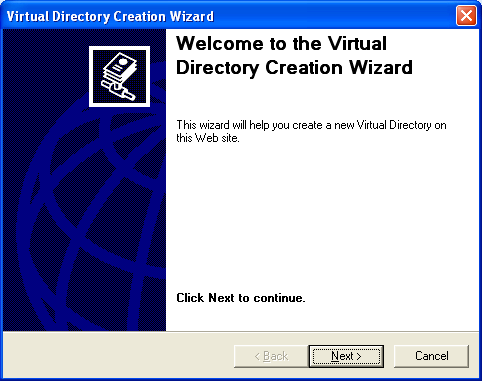
Figure 24: The Virtual Directory Creation Wizard welcome page.
|
Figure 25: Entering the virtual directory alias. |
|
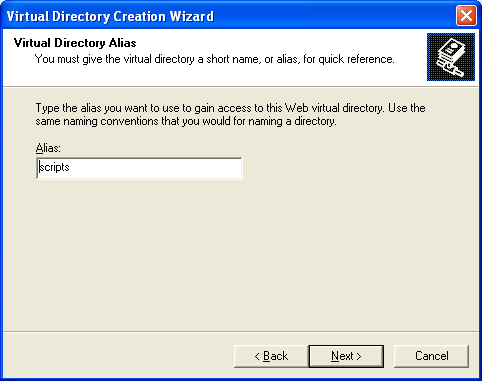

Figure 26: Entering the full path of the DLL.

Figure 27: Setting the virtual directory access permission.

Figure 28: The final page of the Virtual Directory Creation Wizard.
Now we can see the scripts sub directory.

Figure 29: Then, the scripts sub directory can be seen.
Continue on next Module...
Further reading and digging:
-
DCOM at MSDN.
-
COM+ at MSDN.
-
COM at MSDN.
-
Win32 process, thread and synchronization story can be found starting from Module R.
-
MSDN MFC 9.0 class library online documentation - latest version.
-
Unicode and Multibyte character set: Story and program examples.